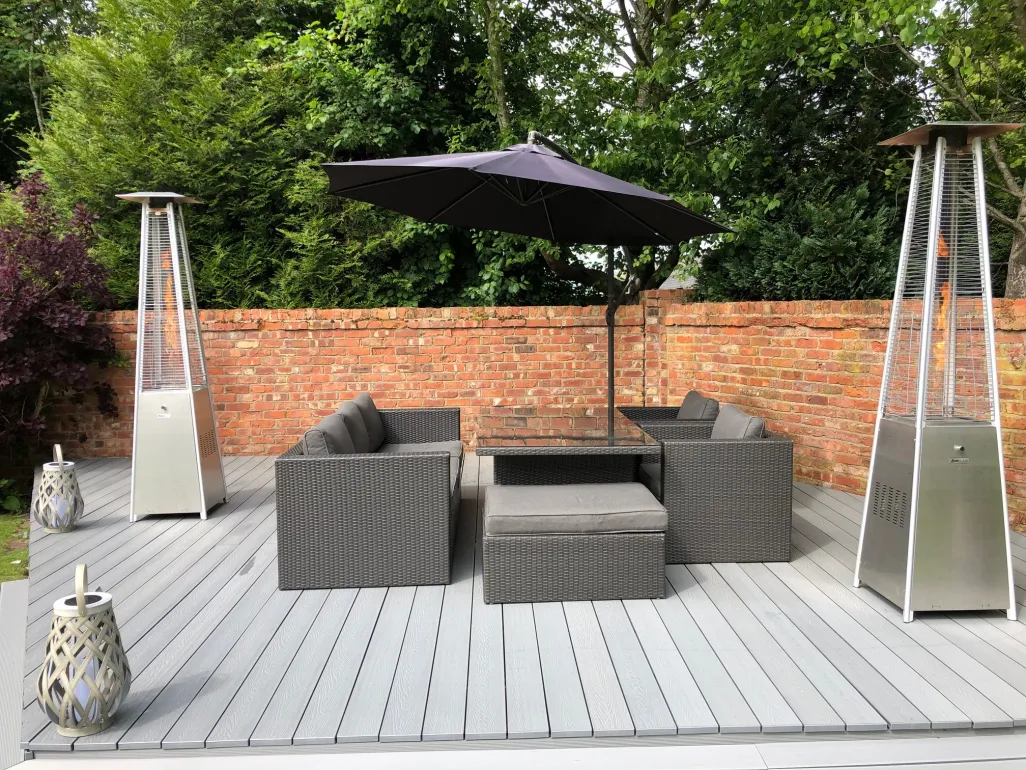
How to Fit Composite Decking
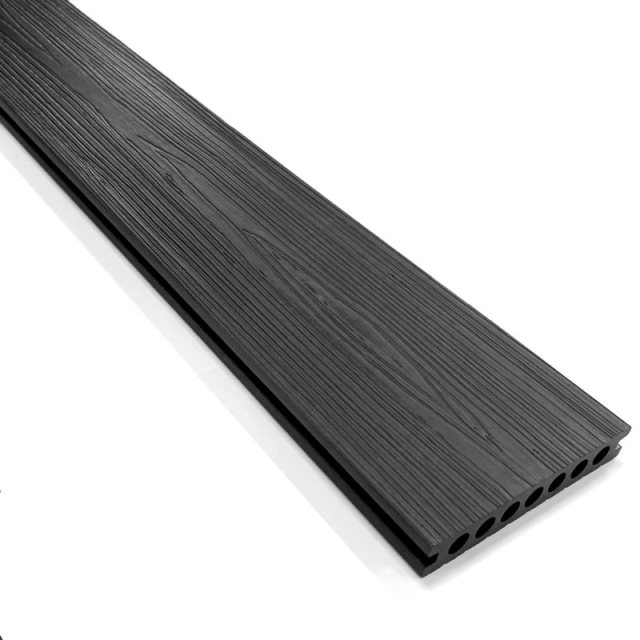
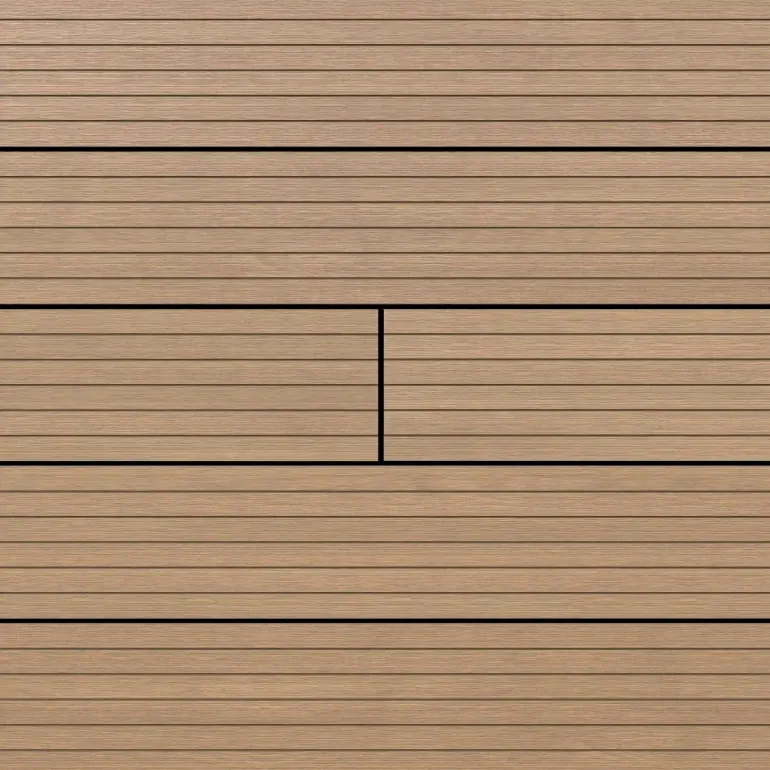
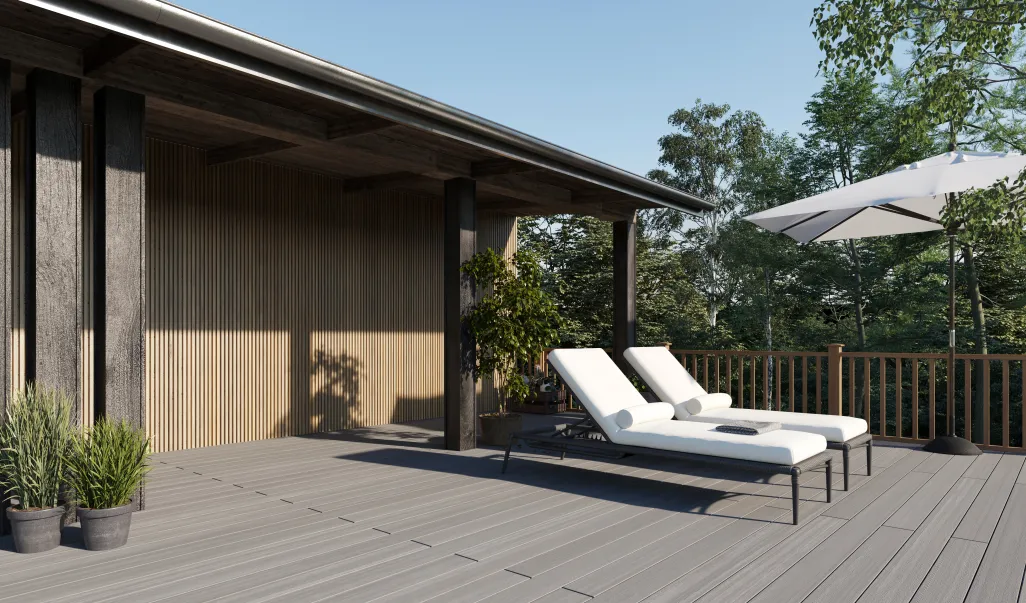
A low-maintenance, long-lasting mix of wood fibres, plastics, and bonding agents, composite decking has become a popular choice among UK homeowners looking to enhance their outdoor space. Read on and learn how to fit composite decking available from BM Steel.
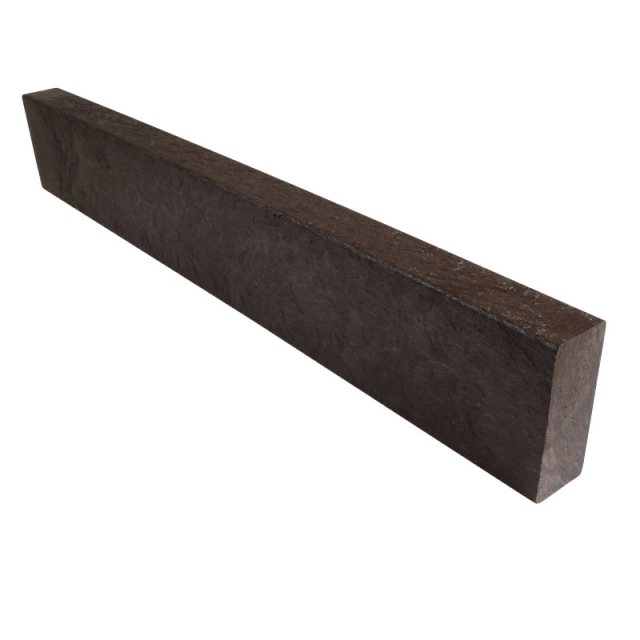
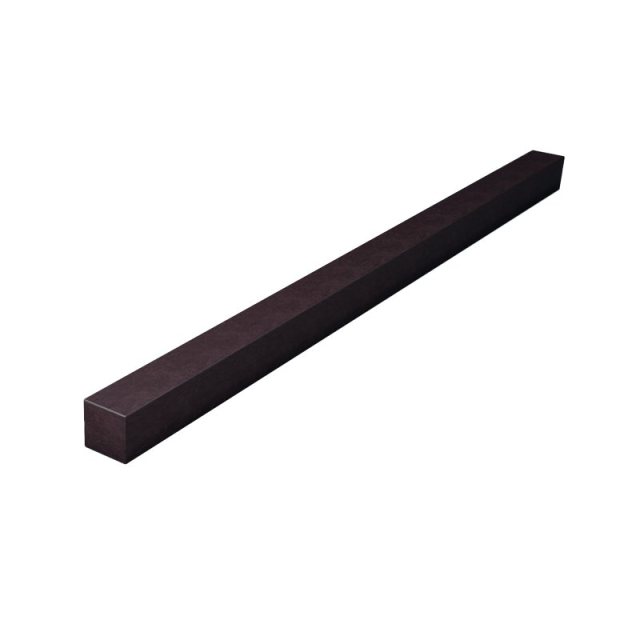
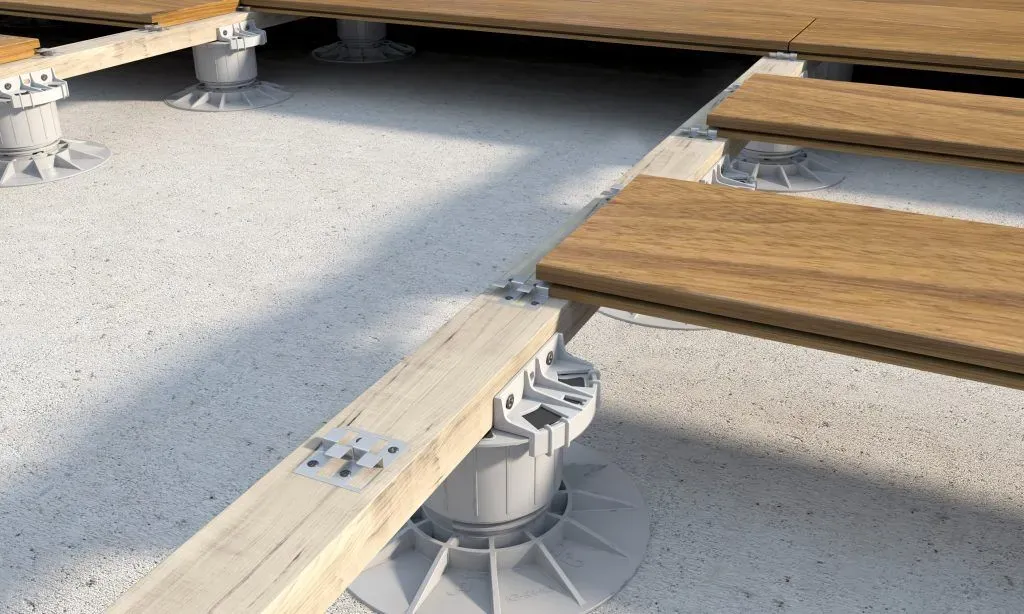
BM Steel also provides top quality joists, sturdy structural elements crafted from synthetic materials, that are favoured in construction for their resilience against decay and ease of installation. Even though timber is a good alternative, a joists durability and eco-friendly properties make them a cost-effective and sustainable choice for supporting floors, decks, and other structures.
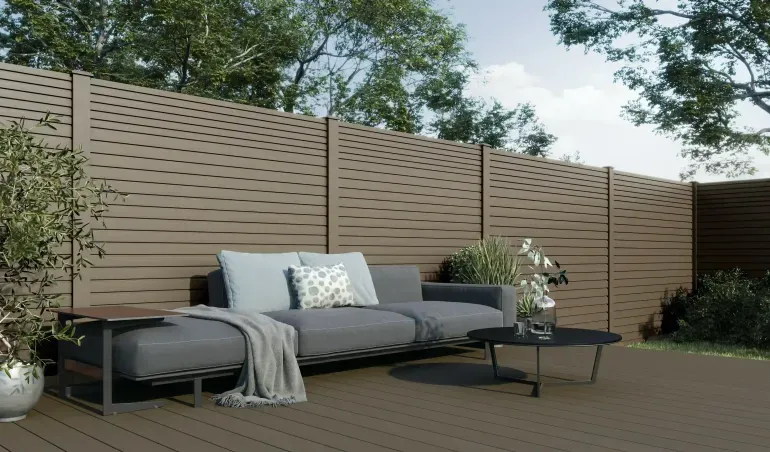
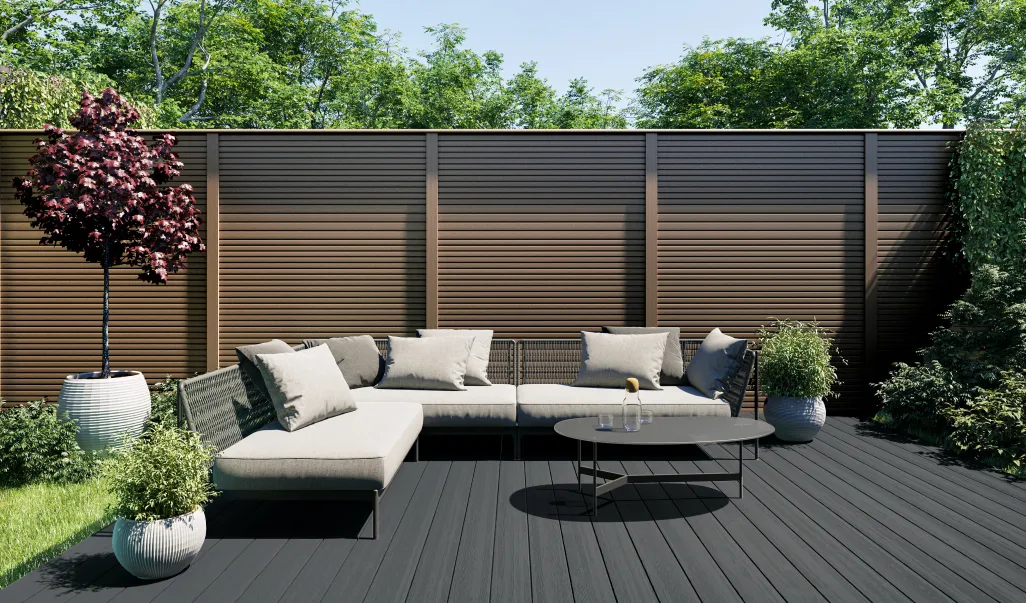
Whether you’re installing composite fencing or decking, there are a couple of things to do before you officially get started. First, read through this guide and ensure that you have all the tools, materials, and other equipment required in easy reach.
Second, make sure that you acclimatise the composite boards before installing them, as this will help stop the boards from unwanted shrinkage. An easy way to acclimatise your boards is by laying them on a ground sheet and keeping them covered for between 48 and 72 hours.
By ensuring that you have all the tools and materials required for fitting composite decking in easy reach, you can look forward to a smoother installation. In addition to the composite fence panels and posts or composite decking boards and joists, starter/finish clips, hidden T-clips with screws, locking clips with screws, angle fascia trim, flat decking trim, and additional screws, you’ll also need a few standard woodworking tools. We recommend using the following:
We're now ready to find out how to install composite decking:
Option 1: Fascia Board
Option 2: Angle Trim
While composite fencing and decking from BM Steel is made to provide robust service for years to come, you will need to do maintenance once or twice a year to remove accumulated dirt and debris. Here are three composite decking maintenance tips:
Clean your decking or fencing by using a scrubbing brush to scrub it with all-purpose cleaner and water.
Use a high-pressure cleaner with a fan-shaped beam held at least 20cm from the surface to wash the decking or fencing in a lengthwise direction.
Gently rub the decking lengthways with coarse sandpaper (80gsm or similar) to remove burn marks from barbecues, etc.
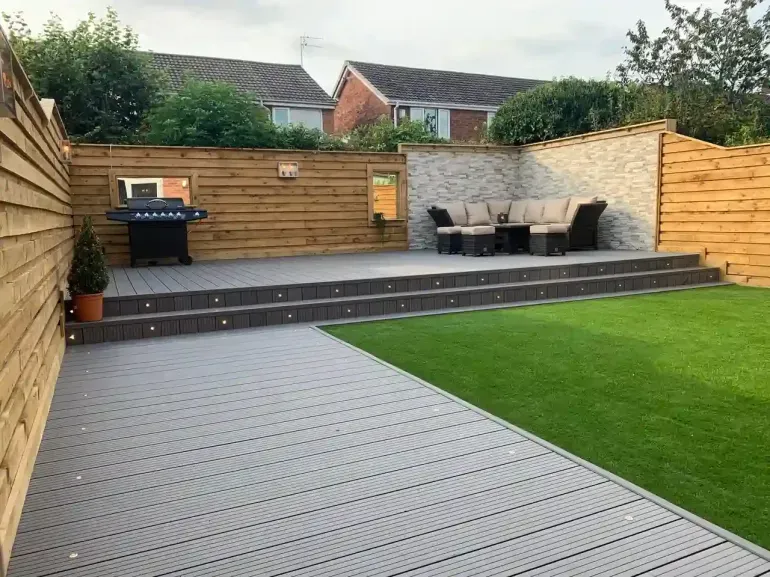
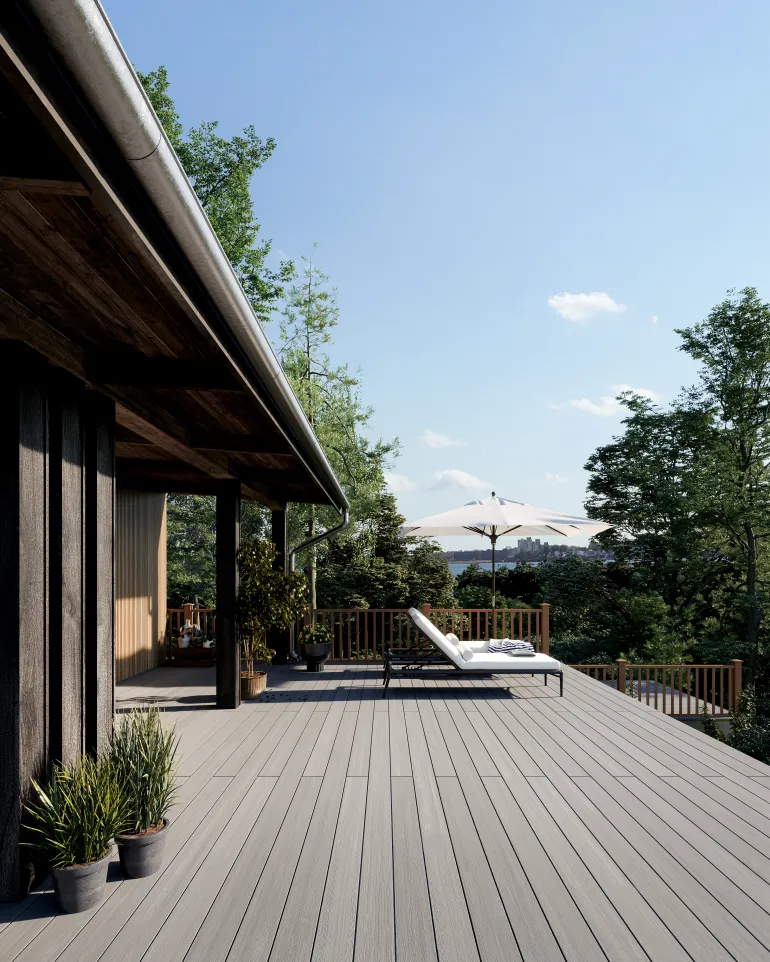
As you can see from our guide on how to fit composite decking, the process requires careful planning, a few tools and materials, and some PPE. The time and effort spent preparing for and installing your decking will be well worth it, however, as your home’s new feature will add value in more ways than one. In addition to being a desirable feature, your deck is sure to be your family's and friends' new favourite spot. Choose the UK’s best composite fencing and decking. Choose BM Steel.
Composite decking benefits from a deep clean once or twice a year to prevent the build-up of dirt, algae, or mildew. For routine cleaning, a bucket of soapy water and a stiff brush usually does the trick. For more thorough results, a pressure washer with a fan attachment held at a safe distance can be used to clean along the length of the boards.
Composite decking can be installed as a DIY project if you’re comfortable with basic tools and following a step-by-step guide. However, for larger or more complex spaces, it may be worth consulting a professional to ensure the structure is level and long-lasting.
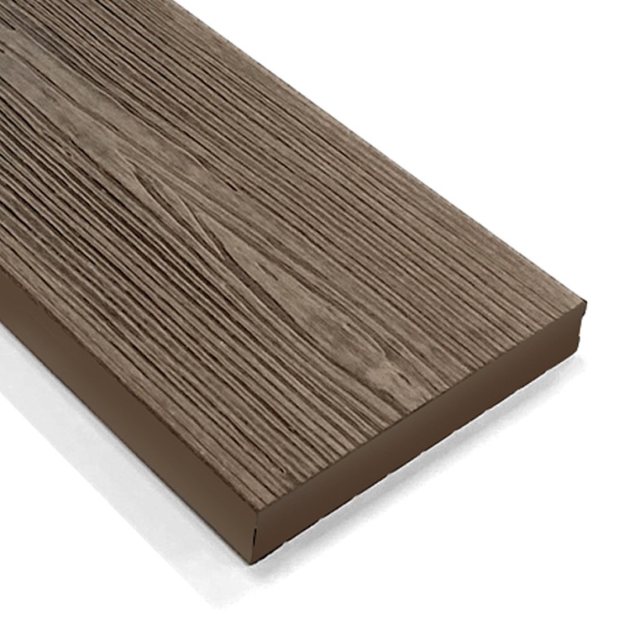
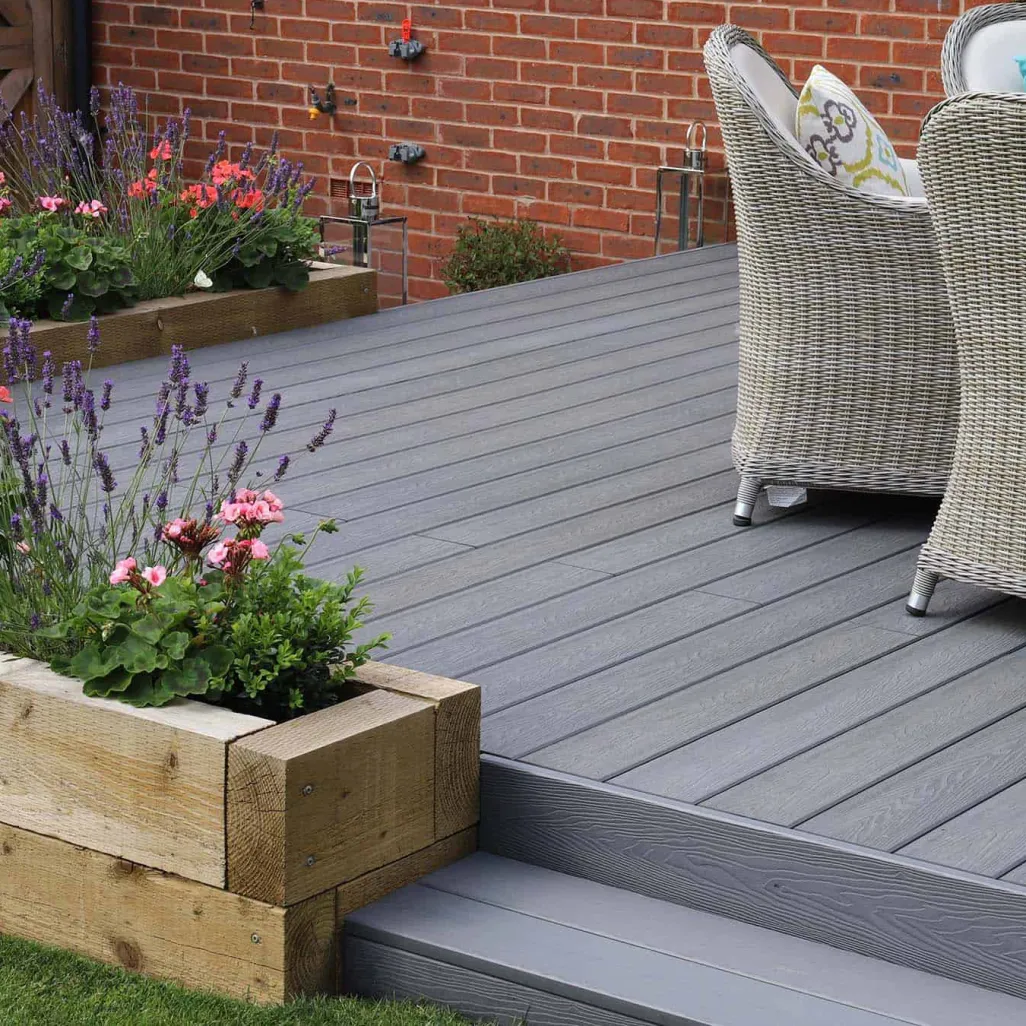
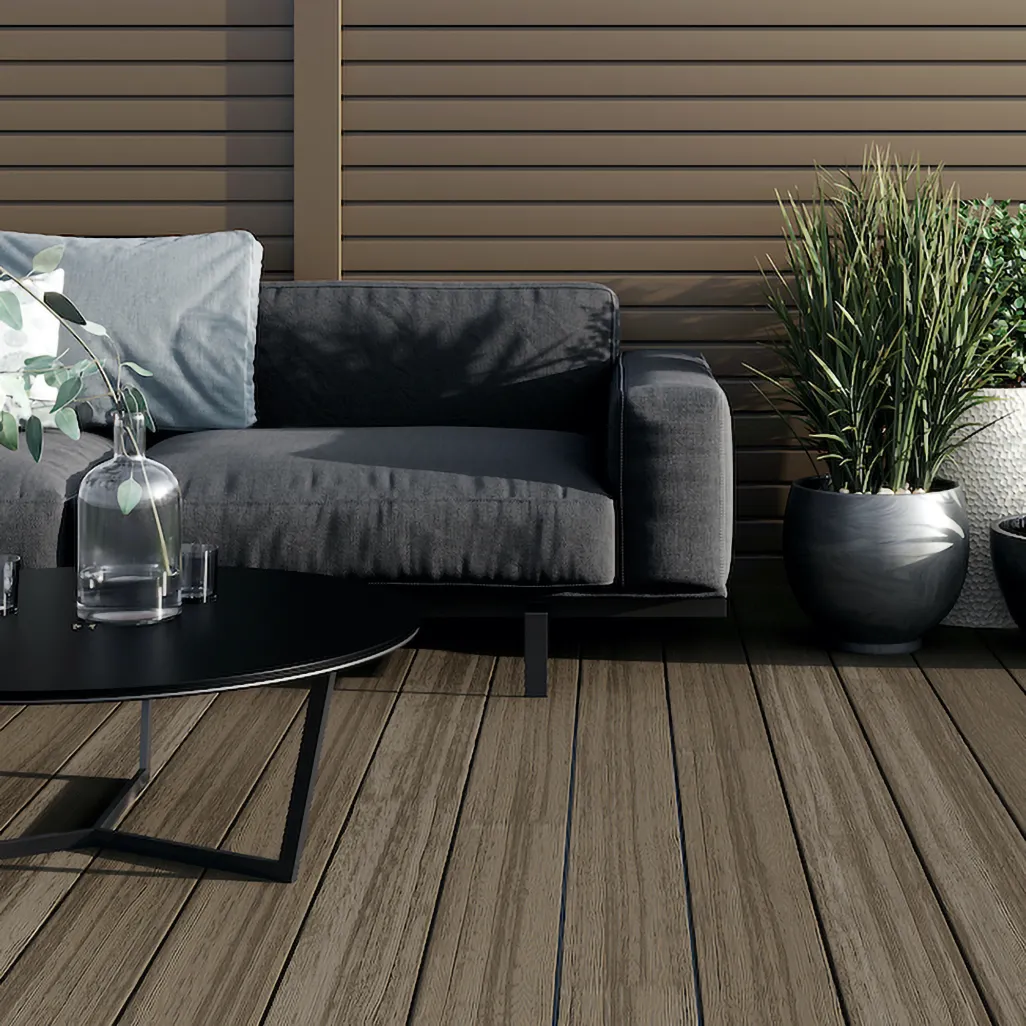
Composite decking is made from a blend of recycled plastics and wood fibres, making it more durable and lower maintenance than traditional timber decking. It doesn’t rot, splinter, or require regular staining.
Yes, small gaps should be left between boards to allow for expansion and drainage. Most composite systems include hidden fixings that help maintain consistent spacing.
It’s not recommended to paint or stain composite decking, as it’s designed to retain its colour and finish without treatment. Attempting to do so may void the warranty or reduce the lifespan of the boards.